Data Visualization and Analytics Training Series: VisIt at OLCF
VisIt at OLCF
Thursday, October 13, 2022
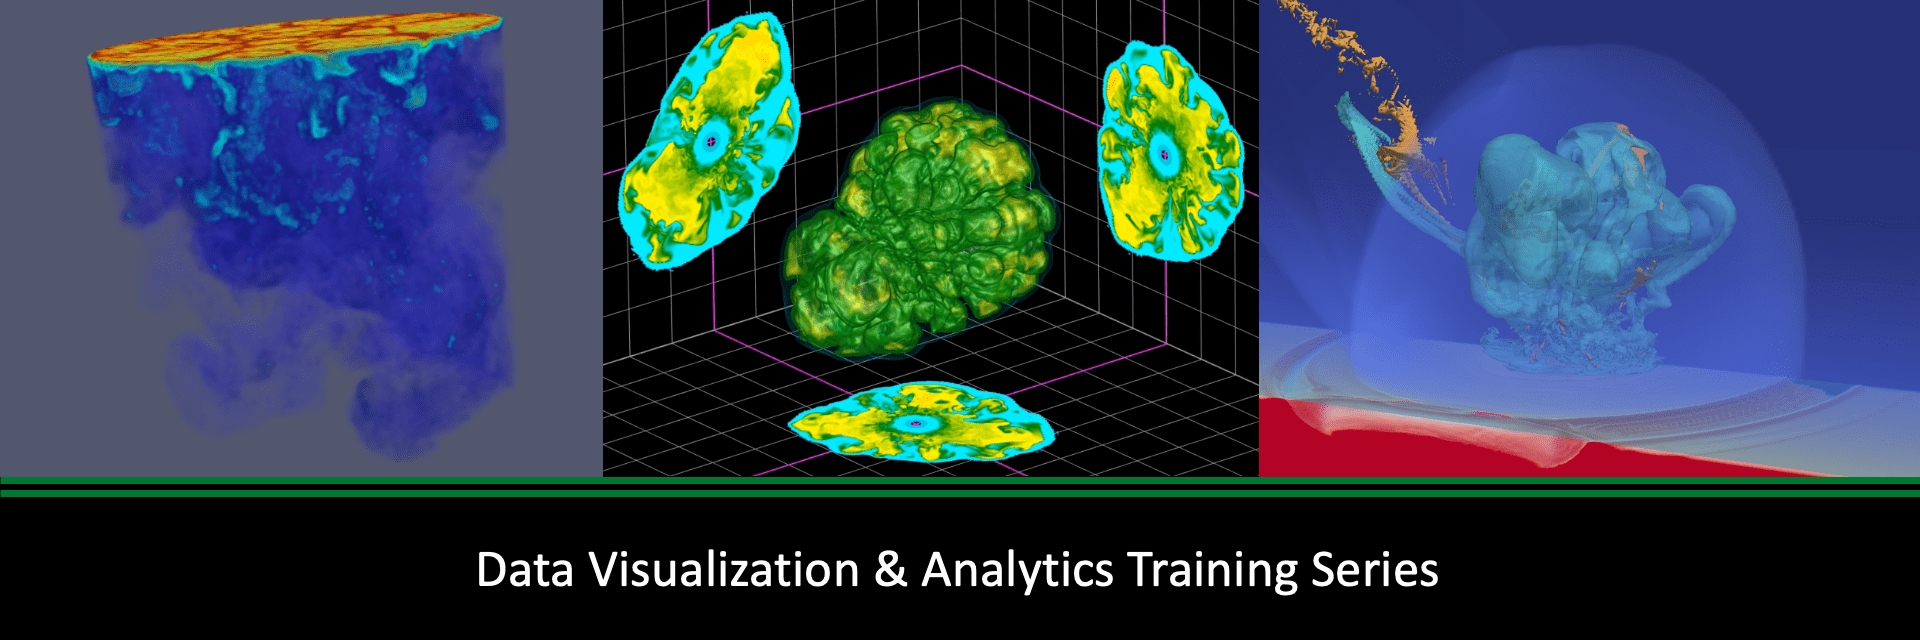
VisIt is an interactive, parallel analysis and visualization tool for scientific data. Users can visualize data interactively or offload visualization using a Python script to analyze data ranging in scale from small projects to large leadership-class computing simulations. Users can generate visualizations, animate them through time, manipulate them with a variety of operators and mathematical expressions, and save the resulting images and animations. Owing to its customizable plugin design, VisIt is capable of visualizing data from over 120 different scientific data formats.
OLCF provides VisIt server installs on Andes and Summit to facilitate large scale distributed visualizations. VisIt may be used in a GUI mode that runs on your local machine while remotely connected to OLCF systems, or used in a batch script to offload visualizations on OLCF systems when interactivity isn’t needed.
This beginner friendly demo will provide an overview of how to access VisIt at OLCF and a tutorial of how to use VisIt to visualize different datasets on Andes.
Due to the nature of VisIt on our systems, only OLCF users attached to Moderate Security Enclave projects (able to access systems like Andes and Summit) can access the tutorial datasets already downloaded on our filesystem. Non-OLCF users are welcome to sign-up, attend the virtual presentations, and encouraged to download the public datasets for themselves (download instructions will be given before the event).
Active participation during the event is not required, as the tutorial examples can be followed after attending (it is recommended to follow along with the video recording after the event). Both the examples and datasets will continue to be available after the event for all Moderate users to access and work with on their own.
Recording: https://vimeo.com/760322024
Tutorial Site (see README.md file): https://github.com/olcf/dva-training-series/tree/main/visit
See agenda below:
| Time | Topic | Speaker |
|---|---|---|
| 1:00 pm – 2:00 pm EDT | VisIt Tutorial pt. 1 | Michael Sandoval |
| 2:00 pm – 2:50 pm EDT | VisIt Tutorial pt. 2 | Michael Sandoval |
| 2:50 pm – 3:00 pm EDT | Additional Help |
[tw-toggle title=”Registration”]
Registration has closed (as of Oct. 12th)
[/tw-toggle] [tw-toggle title=”Joining Information”]Joining information will be sent to you in a calendar event before the event.
[/tw-toggle]